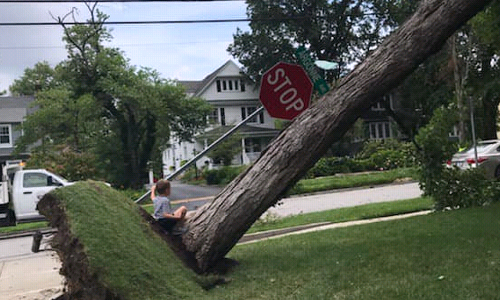
You might have fertilized your lawn before and this may help your lawn grow, but is it really what it needs? Is there a deficiency in your soil that fertilizer is only bandaging? Could you be over fertilizing it? It’s important to understand exactly what your lawn area needs to help you buy the products you need to resolve your issue! This same concept can be applied to your trees.
Soil tests allow you to see what your soil might be missing in order to enhance your plants’ health, and a chance for survival. Soil tests have the potential to save you a lot of money, especially when done as a preliminary diagnostic for planting projects. Soil tests entail checking the status of textures, pH, density, compaction, and organic matter. There are other tested factors, but we will primarily focus on those. Checking the status of some attributes in your soil may cost a little extra, but can further help you depending on the scale of your plans. The primary attributes being observed with most standard soil tests are soil texture, pH, organic material, and chemistry. Chemistry refers to what elements are heavy or not present. Soil compaction, water requirements, pesticides, and toxins may require a more extensive soil test. More urbanized environments would be good candidates for these more extensive tests.
The soil gathering process isn’t a difficult one, but it is a bit particular. You need to be sure to take proper measures to ensure that you get an accurate test result for your soil. You will need a couple of common household tools in order to obtain your proper soil sample to send off for testing. You’ll need a trowel/shovel, a bucket, and Ziploc baggies. Be sure to get baggies that will stay sealed. When observing the ground for a good spot to draw your samples from, pay attention to the small details. Look for color change across the ground and plant health change. Before you collect your sample make sure that it is free of grass, leaves, mulch, etc. Digging the sample out will give you some idea of certain attributes in the soil. Soil compaction and soil profile are both revealed to an extent just with the digging! If your soil color changes while digging up your samples, separate the soil according to color, and use as separate samples. If the color change is only an inch or so down, use the deeper soil. Remember to fill your holes back in! It’s a good idea to gather several samples from each soil variation. Combining the same soil variations will give you more broad depictions of that particular spot of soil.
Combine the similar soil variations in your bucket, mixing it thoroughly to get a good average depiction of the soil you’re sending in for testing. This sorts out any small discrepancies that could be possible between the samples you’ve dug up near each other. Make sure to keep all the particles to an even size. You’ll want to break up any larger clumps of soil accordingly. Once you have your holes filled, and your soil mixed properly, it will be time to bag it. Ensure that your sample bag is safely sealed; this is why it’s good to make sure you get bags that won’t break open easily! The sliding Ziploc bags seem to work well enough.
Now that you have your nicely sealed bag of soil it’s time to ship it off to the soil lab you’ve chosen. The tests can take a few weeks, but most of the time it shouldn’t take that long. If you only have one or two samples then it shouldn’t take more than a couple of weeks. Prices for these soil tests can range anywhere from 10 to 50 dollars. For your standard tests, you’re going to be paying no more than 20, but you’ll be paying in between 30 and 50 for the more extensive tests I had mentioned earlier. It might also be a good idea to inform the lab of what plants you plan on putting in your sample area, in case they are willing to send more detailed information related to your project interests.
As a whole, soil tests can be one of the most cost-effective things you purchase before a landscaping project. It can seem unnecessary and like more of a roadblock to getting your outdoor masterpiece underway, but it might just save you a lot of money! It doesn’t take more than a couple of simple tools, elementary techniques, and a little bit of patience to gain a better understanding of what kind of soil you’re working with. Keeping good soil where it does not only save you time and money, but it saves you a whole lot of headache as well!